Acuity Scheduling: The Ultimate Guide
Acuity is a tool that allows you to schedule appointments and meetings. We’ll go over the basics, advanced features, and integration options.

If you’ve spent any time looking for a digital calendar or scheduling tool, there’s a good chance that you’ve heard of Acuity. Acuity was acquired by the Squarespace company a few years ago, but it still functions as a stand-alone scheduling product.
In this guide, we’ll go over the basics, advanced features, and integration options of Acuity.
What is Acuity?
Acuity Scheduling is an online program that allows you to schedule appointments and meetings. Acuity uses a group calendar with a simple interface. It has a multitude of feature options and integrates with many other tools making Acuity a good option for many businesses.
Acuity has gained popularity primarily because it is such an intuitive system to use. However, it’s the top-tier paid plan that shines — Acuity offers a slew of advanced tools and features for power users.
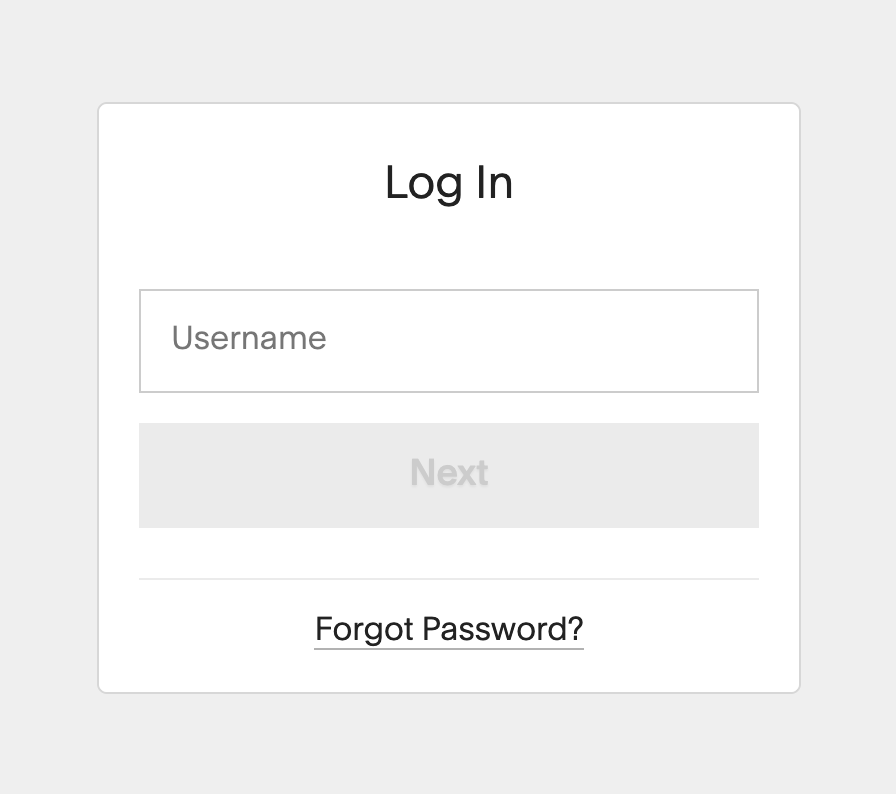
How to log in to Acuity
Logging in to Acuity is easy. Click Log In (top right in the navigation menu) and enter your username and password.
If you’re using the “Growing” or “Powerhouse” plan, the administrator can add additional users and assign them usernames and passwords.
Your clients, however, will never have to log in to Acuity. They use the calendar embedded on your website or a custom link that you send them to navigate to your calendar site.
How to set up Acuity
One thing that people enjoy about Acuity is how flexible it is. You can set it up in different ways depending on your needs. As we mentioned earlier, Acuity has a lot of features and options. You can add more functionality later.
Get started with these basic settings:
- Set up your availability
- Set up appointment types
- Send clients to the scheduling page
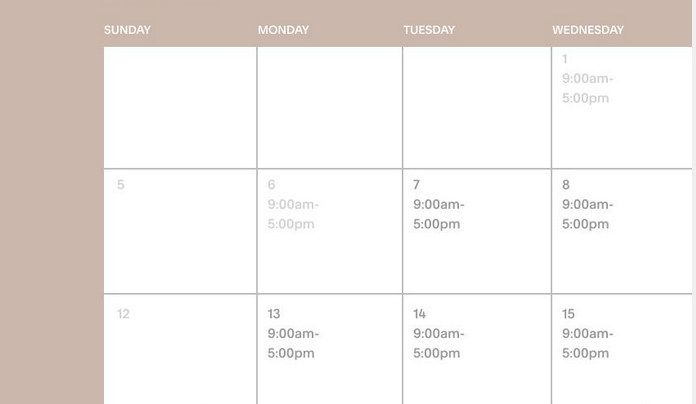
Step 1: How to set up your availability
During setup, one of the first steps is to set your calendar availability so people know when you’re available to receive appointments.
Here’s how to change your availability:
Click Availability settings. You will see a different “Availability/Limits” button for each calendar that you have available. Click on the one you want to set up. If you have regular hours, you can use the boxes at the top to set day and hour ranges.
But if you want to set specific hours for each day, there’s another option:
- Uncheck the box next to “I have regular hours every week.”
- Click Save
- Click the Specific Days button
- Enter your hours for each day of the week
- Click Set Hours
You can always change your availability. If your schedule changes, go to the “Availability” settings to alter your weekly hours, cancel hours on particular days using override hours, or use override hours in place of regular weekly hours to set hours day-by-day.
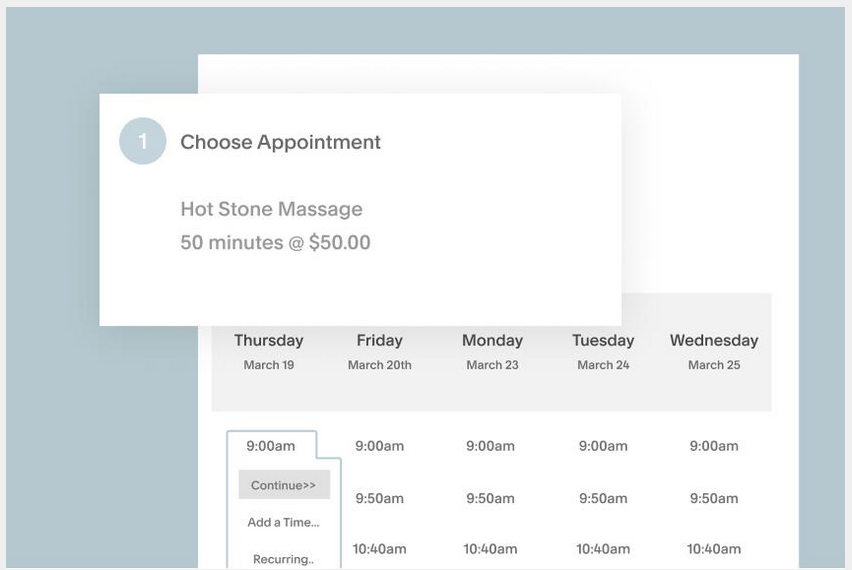
Step 2: How to set up appointment types
Acuity lets you create multiple appointment types for the different services you offer. For example, a consultation likely will require more time than an account follow-up call. To set appointment types:
- Find the “Business Settings” link on the main menu
- Click Appointment Types
- Click the Edit button (next to the default example appointment type named “Consultation”)
- Edit the details of the default appointment template to meet your needs.
- Click Update Appointment Type button to save your changes.
If you’d like to create several appointment types, use the “+New Type of Service” button to create more options.
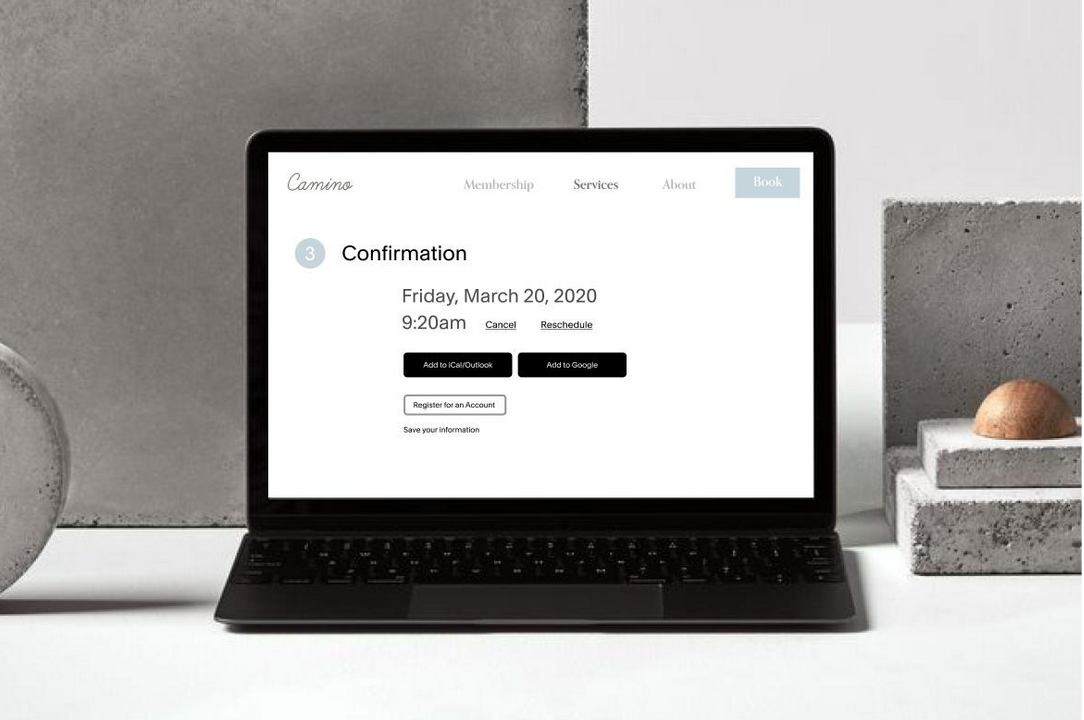
Step 3: How to send clients to the scheduling page
You can also send your clients a scheduling link. It’s a simple and quick solution.
- Navigate to the client’s “Scheduling Page” tab on the main menu
- Click the Scheduling Page Link
- Copy the link that appears
- Send this link to your clients
They’ll be able to schedule an appointment with you regardless of whether or not they have an Acuity account.
Acuity pricing
Acuity has three levels of plans ranging from $14 a month to $45 dollars a month. You can trial any plan for seven days for free.
All of the paid plans include the ability to embed the scheduler into your website, sync with popular cloud-based calendars, autoresponders, contact management, and accounting programs.

Here’s a quick look at the three tiers:
Emerging Enterprise
This Acuity plan offers one calendar for one primary user that covers one location for $14 per month. This price level adds the ability to send out confirmation, reminder, and follow-up emails and performs automatic time zone conversion for clients.
Growing Business
The Growing Business pricing level is Acuity’s most popular package. For $23 per month, you get six calendars for staff at separate locations, text message reminders sent to clients and the ability to offer membership sales, appointment packages and gift certificates.
This plan meets the needs of most freelancers and small businesses.
Powerhouse Player
For $45 per month, this plan offers all the features of the previous one plus 36 calendars for staff at various locales. With the Powerhouse plan, you also have access to integrate custom API and CSS and sign BAA for HIPAA compliance.
This package enables users to white label the scheduling interface.
[For more on pricing, see how Acuity compares to Calendly.]
Integrating payment processors with Acuity
Acuity integrates with multiple online payment tools so users are able to easily accept payments from their customers. Acuity does not add any fees for this service, so the user is only responsible for the fees charged by the processor.
Stripe
With Stripe, your clients can pay for an appointment as they schedule it in Acuity. You can store clients’ credit card information in Stripe to use later for future meetings.
Square
Square works very similarly to Stripe for online booking in Acuity. Integration with Square is also useful if you use the payment system for onsite sales. You will see all of your transactions on one report.
PayPal
PayPal takes clients off of Acuity to PayPal.com when they make a payment. When the payment processing completes, PayPal sends the user back to Acuity’s appointment confirmation page.
Setting up recurring payments in Acuity
Do you offer subscriptions, packages, or memberships? To simplify life for both you and your clients, you can set up recurring payments in Acuity.
After setting up the required parameters, the program automatically bills your client each billing cycle. To set up recurring payments, you’ll have to enter the following information:
- Price
- Processor
- Billing period (1, 2, 3, 4, 6 weeks or 1, 3, 6 months or yearly)
- Number of billing cycles
- Initial setup fee
You can also give clients the ability to cancel their subscriptions. And Acuity provides the administrator with the ability to customize plans, authorize refunds, credit accounts, and more through the admin interface.
Frequently asked questions about Acuity
Since being acquired by Squarespace, the team has built up a robust help page. But here are a few more common questions people have about using Acuity.
How can I add a scheduling button to my website?
Go to the Client’s Scheduling Page Link on the main menu and scroll to the bottom of the page. Copy and paste the HTML code to your webpage. A clickable button will appear on your page that will link to your Acuity Client’s Scheduling Page.
How do I see a list of when my clients last had an appointment?
Under the Appointments heading, click Import/Export and then click on the Export Client List to Excel button.
You will see the following information in a comma-delimited .csv file:
- Client name
- Client email
- Client phone number
- Notes on the client file
- Days since the last appointment
Can I embed Acuity on my website?
Yes, you can embed acuity on your website. You can find the scheduler embed code under the “Client’s Scheduling Page” tab when you click Scheduling Page Link. Select the HTML code, copy and paste it to your webpage.
Will I be notified that an appointment has been made?
That’s an option, yes. On the “My Account” page, click the drop-down menu option to receive all notifications.
You can add an email address, or if you are on the Growing Business or Powerhouse Player plans, you can enter a phone number to receive text messages.
How do I redirect clients to a different page after booking?
Acuity does not recommend redirecting clients after booking since it disables tracking features and prevents them from canceling or rescheduling if they made a mistake. However, if you need to do a redirect, it is possible.
To perform the redirect, add the following code to “Custom Conversion Tracking:”
<script type=”text/javascript”>
window.top.location = ‘YOUR URL’;
</script>
Does acuity scheduling have an app?
Yes, there is an app for both iOS and Android users.
Searching for a simpler, more effective calendar solution?
SavvyCal allows you to schedule meetings with just a few clicks. Here are a few ways SavvyCal stands out from other scheduling tools:
- Two plans with unlimited calendars and unlimited events.
- Personalized scheduling links.
- A plethora of availability options like global presets, time blocks, and ranked availability.
Curious about whether SavvyCal is right for you? Sign up for a free 7-day trial.